New in vSphere 5.1 is Single Sign On. Whether you are installing vSphere vCenter 5.1 on a fresh system or upgrading from a previous version. You will have to install SSO. By using SSO, VMware components communicate with each other through a secure token rather than each component authenticating with an external source like Active Directory.
To install SSO, as with vCenter, you are required to create a DB to complete the installation. In my case I used the same SQL server that has my vCenter DB taht I plan on upgrading. You can make this DB prior to the start of the SSO installation or as I did create it sequentially during the installation process when prompted for a local SQL instance install.
Using your vSphere 5.1 media, mount and run and installation. The product installation menu will appear as below. Select vCenter Single Sign On and click the Install button. Select a language and then click through the obligatory Welcome screen, patents and license acceptance.
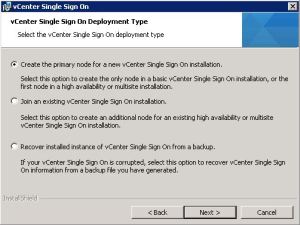
The SSO installation will then start. Again, whether an upgrade or a fresh install, if it’s your first 5.1 installation you’ll be selecting ‘Create the primary node…’
On the previous screen we selected our deployment type. On this next screen we are selecting our Node Type. in this case a basic node will do the job.
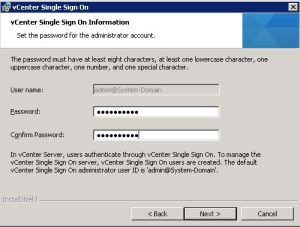
SSO uses an admin account to run. This can’t be changed through the installation process. The account is admin@System-Domain. You are asked for a password for this account. Record and remember this password as you will use it during other SSO deployments in your environment and additional vSphere product installations.
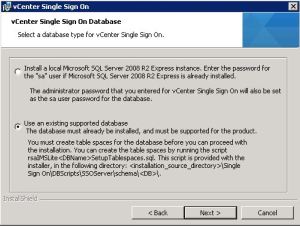
We are now prompted for a SQL Database type. Unless you have a small environment or a test lab we probably won’t be using Express. While there’s nothing wrong with MS SQL Express but if we have the opportunity to use or install a full copy of MS SQL Server (or heaven forbid Oracle) we will gain better growth and manageability over time. As such I have choosen to use an existing SQL Server.
Now before we processed any further we have to create the DB. SSO want a particular tablespace name and without the correct name the installation will fail. Below I used SQL Server Management Studio and a SQL Query to create my DB with the required tablespace names. As most of you aren’t DBAs i’ve attached the script I have used.
With the DB now created we can proceed with the remainder of the installation. Enter in the DB name used and the hostname of the DB Server.
Enter in the Full name of the server including its domain that you are installing the SSO Server on. Important-- Make sure that your server has both a forward and reverse lookup records.
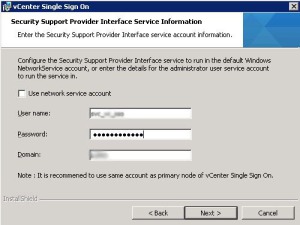
Here we either use the Windows built-in Network Service account or we can create a domain account. I tend to favor creating low privilege domain accounts that i can easily centrally control.
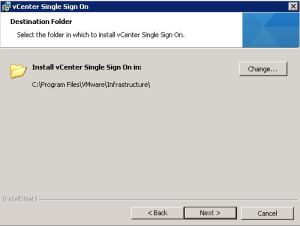
Depending on what your installation policy is like either leave the default location or choose to install to a different path.
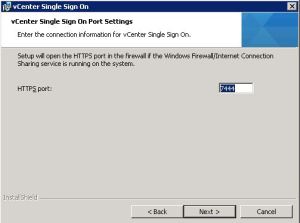
Leave the default port and click next.
…and finally the install will now start and hopefully complete without error.




We use a named instance and i cannot enter “SQLServerInstanceName” nor use an alias (set in the configuration manager). But when i try with an .udl file, all is done correctly
May i use a named instance for sso ?
Yes, the SSO install can handle named instances. When on the Database Information window you need to select the checkbox ‘I will enter the JDBC URL myself’ at the bottom. You need to modify the JDBC URL. I think this will pre-populate if you click next and then back using the information you put in above. Then you can modify the Named Instance. If it doesn’t pre-populate it looks similar to this…
jdbc:sqlserver://serverName:portNumber;instanceName=InstanceName;databaseName=RSA
I like your creative thinking using a UDL file. Good work.